
The mandolin appeals to players with its small size, bright sound, and accessibility. This plucked-string instrument, tuned G‑D‑A‑E, suits folk, bluegrass, and classical music.
This short step-by-step guide takes you from reading your first tablature to playing your first tunes with rhythm and a good tone. We cover the instrument’s anatomy (headstock, tuning pegs, neck, frets, body, and bridge) and the essentials of effective practice.
Key points: tune the instrument correctly, hold it without tension, and understand how the strings project sound. A gradual approach lets you work on reading, finger positions, and rhythm separately before combining them.
To go further, explore practical resources such as lessons, PDFs, and videos. See also this page for beginner-friendly materials and exercises.
Getting started: the instrument, tuning, and how to hold it
Before playing, get to know the instrument, its tuning, and the posture that helps you produce a clean sound.
Anatomy and shapes
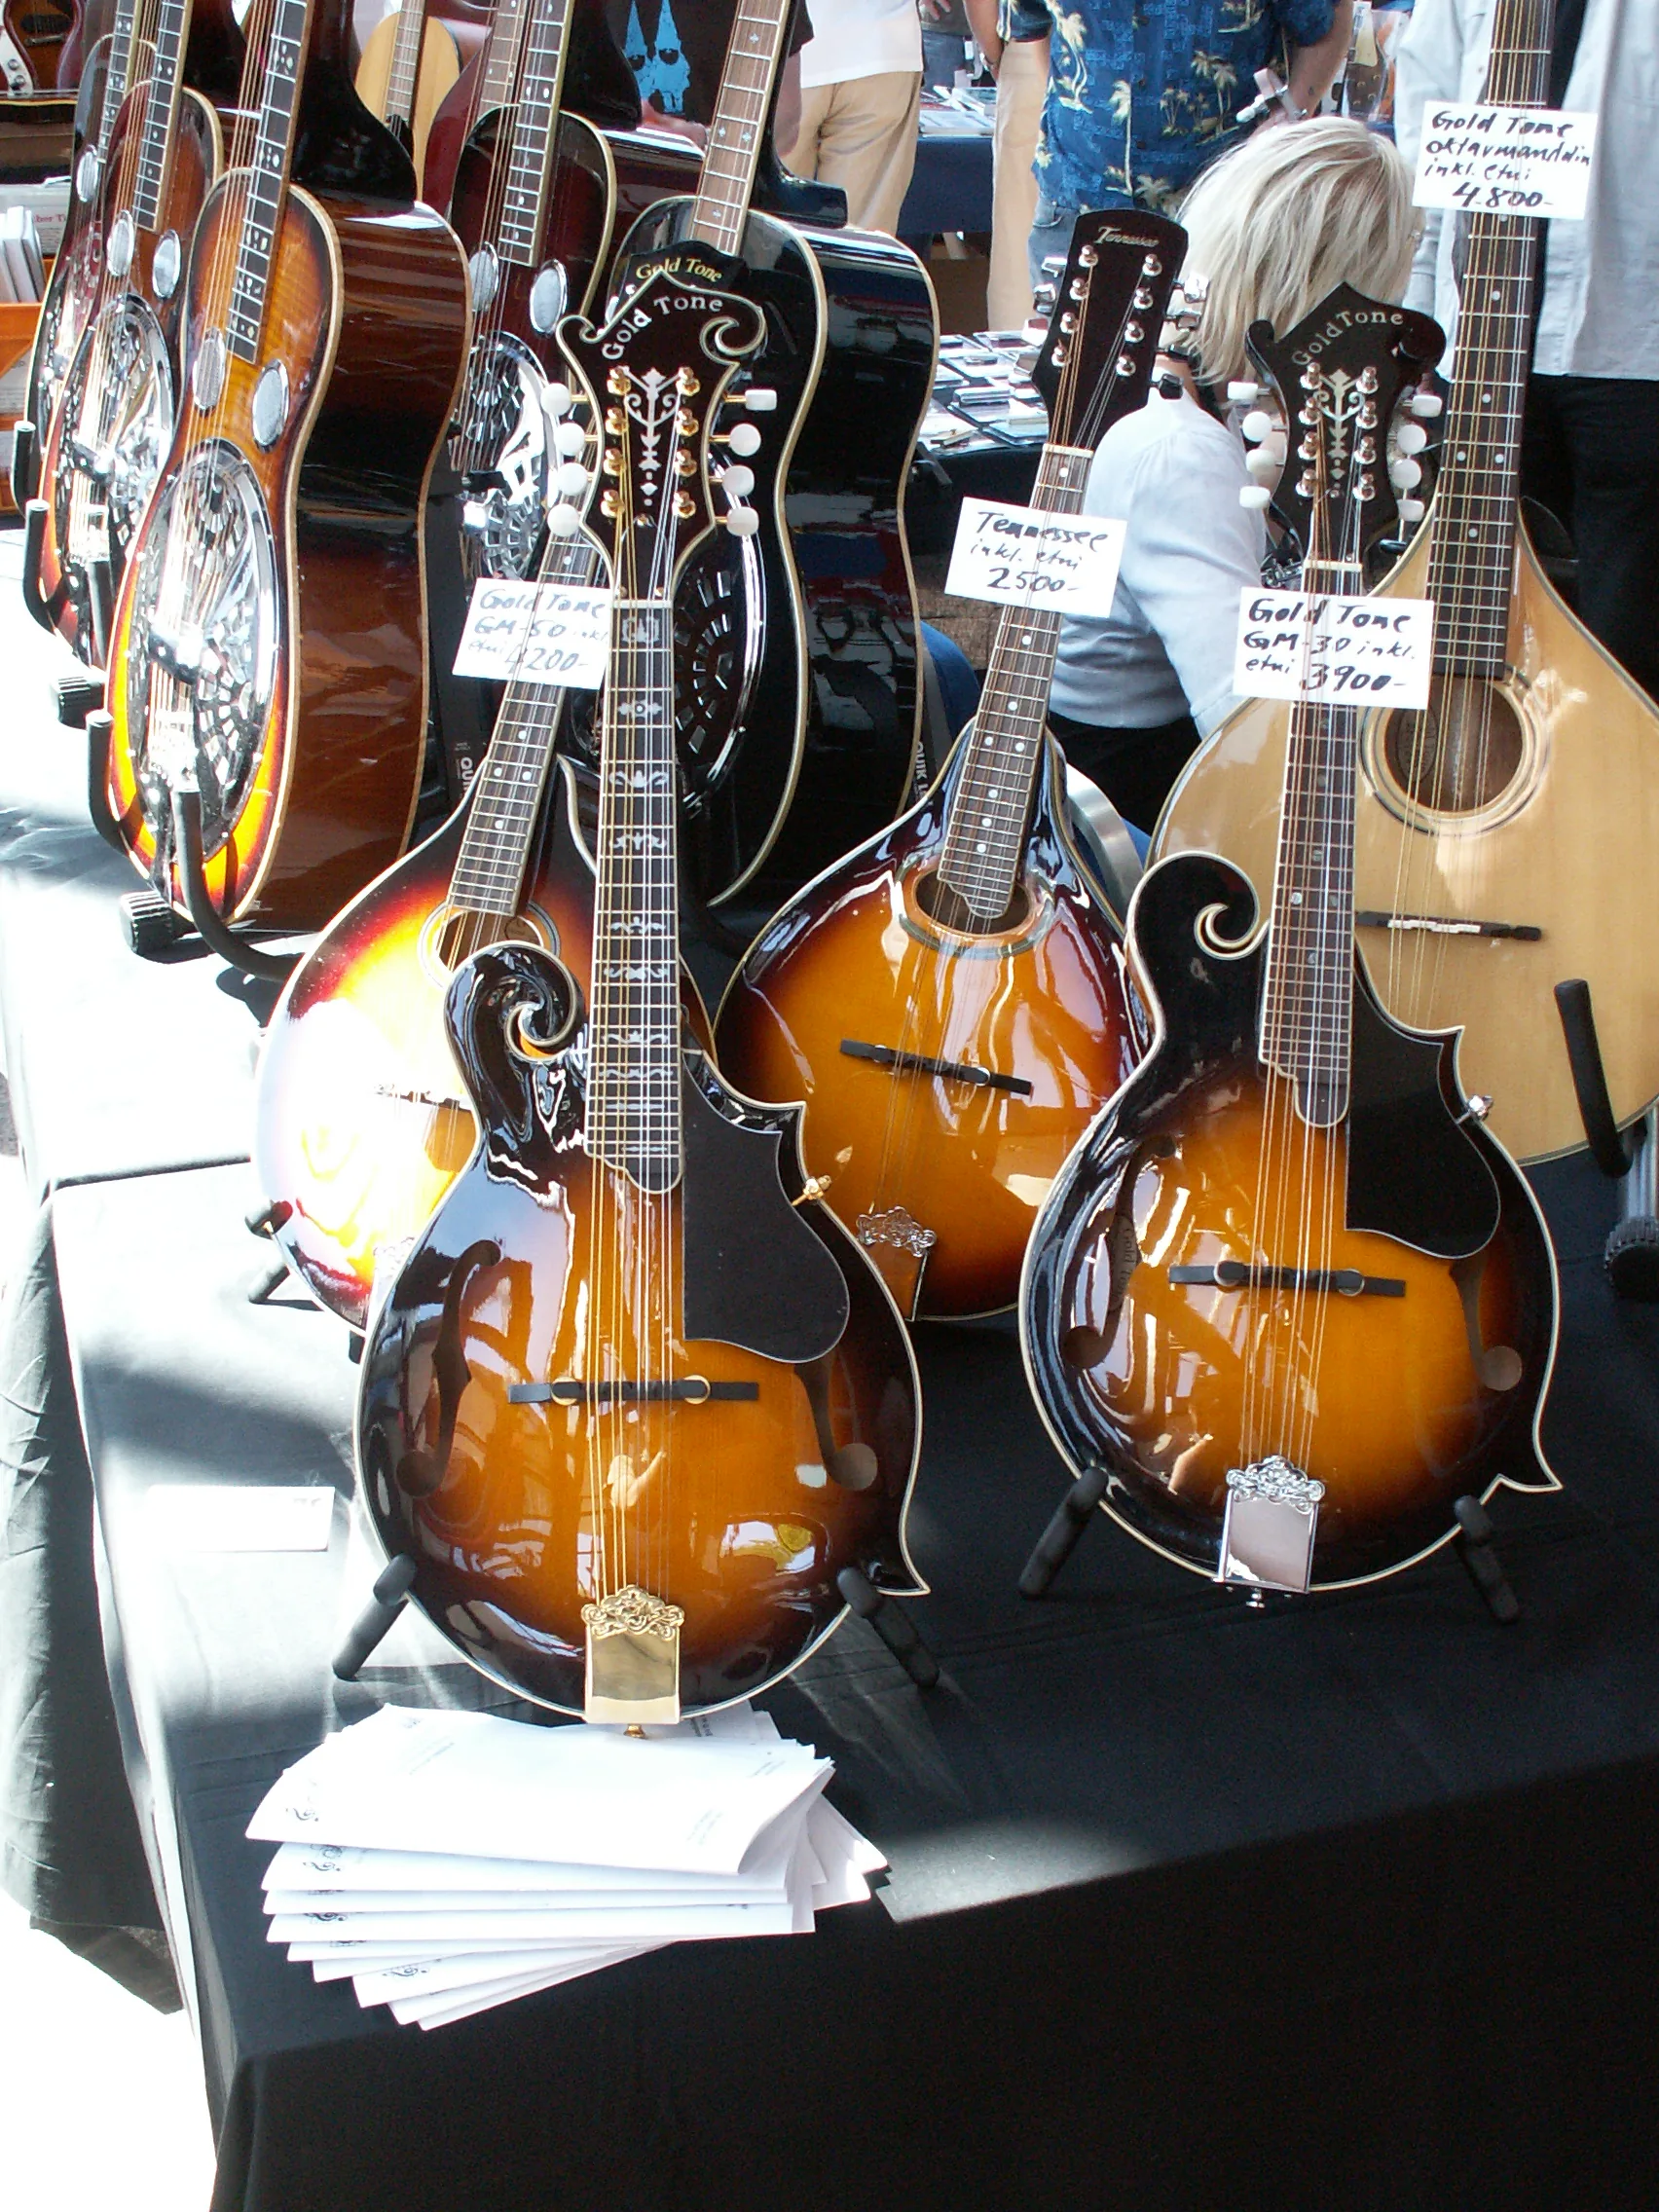
Identify the headstock and its tuning pegs, the fretted neck, soundboard, sound holes, and bridge, which supports the four pairs of strings.
Common types: the Neapolitan mandolin has a rounded body and is popular in classical music; the A-style is simple and versatile; the F-style offers greater projection for folk music.
Tuning and intonation
Tune the instrument G‑D‑A‑E, from low to high, with an electronic tuner or an app.
Check the tuning regularly: temperature and humidity can affect the strings. Tighten each string gradually to avoid breaking it.
Posture and pick grip
Adopt a stable posture: keep your back straight, angle the instrument slightly, and rest the mandolin on your thigh when seated.
Hold the pick between your thumb and index finger without gripping it tightly. Keep your right hand relaxed and let your wrist guide each stroke for a better tone.
- Check that each fretted string rings clearly, and place your fingers close to the frets.
- Choose an instrument that suits your style and budget and is comfortable to play.
How to read mandolin tablature: a beginner’s guide
Reading tablature begins with identifying its four lines: from bottom to top, they represent G, D, A, and E. Each line corresponds to a pair of mandolin strings.
Numbers and open strings
The numbers indicate which fret to press. A “0” means play the open string. A “2” on the third line means play the D string at the second fret.
Chords and fingerings
Chords are written vertically, with several numbers stacked. Plan your fingering and place your index finger and other fingers close to the frets for clean transitions.
Rhythm through spacing
Note lengths are not shown; horizontal spacing suggests the rhythm. Numbers close together represent shorter notes, while numbers farther apart represent longer notes. Read along while listening to a recording or MIDI file.
“First picture the lines, then play slowly while saying the numbers aloud.”
| Symbol | Meaning | Example |
|---|---|---|
| 0 | Open string | E–0 / A–0 / D–0 / G–0 |
| 2 | Second fret | D: play at the second fret |
| Stacked numbers | Chord | C major: E–0 A–3 D–2 G–0 |
| Spacing | Rhythm | Close together = short; farther apart = long |
For practice, consult a tutorial to learn to play, and repeat each passage several times with a focus on accuracy.
Rhythm, tempo, and the right hand: from alternate picking to tremolo
Mastering rhythm and note placement makes a real difference when working on your right hand. The technique relies on alternate picking (down, then up) for efficiency and speed, and on tremolo to sustain a note.
Establishing a steady tempo
Playing with a metronome and then with backing tracks helps you keep time. Start slowly, break down difficult measures, and count aloud.
Downstrokes, upstrokes, tremolo, and cross-picking
Use alternate picking consistently: down, then up, even when the tablature does not show the stroke direction. This steadies your attack and balances the sound.
- Tremolo: repeat a sustained note rapidly to add color to slow melodies; keep your right hand relaxed.
- Cross-picking: use it on arpeggios to vary the accompaniment and improve accuracy when moving between strings.
- Increase the tempo in steps of 5 bpm, but only after ten accurate repetitions.
“A steady tempo prepares your body and ear for faster phrases without losing the music’s flow.”
Practical tip: play with backing tracks to fit your part into the music and spot passages where your picking and string changes fall out of sync.
Left hand and intonation: frets, positions, and first chord shapes
The left hand determines intonation and clarity: its position matters. For clean notes, place your thumb near the center of the back of the neck. This supports your hand without tension and frees your fingers to move quickly.
Place your fingers just behind the frets. Use only enough pressure to stop the string’s vibration. Your index finger guides transitions; adjust its angle to avoid muting a neighboring string.

Basic chords (folk and bluegrass): practice these shapes slowly, then repeat them in a loop.
- G major: second string at the second fret, lowest string at the second fret, third string at the fourth fret, and fourth string at the sixth fret.
- C major: lowest string at the first fret, third string at the third fret, second string at the fourth fret, and fourth string at the sixth fret.
- D major: third string at the second fret, second string at the third fret, and highest string at the fifth fret (without the little finger).
Key exercise: move between G, C, and D while keeping your right hand steady. Release pressure between chords to reduce fatigue. Give your ring and little fingers focused practice.
Tip for better tone: check that each string rings distinctly. Adjust your finger angles and move your fingers together in small shifts to transpose the shapes.
Practical exercises and a learning path
Include scales and arpeggios in your daily routine to improve accuracy and control. Practice slowly, then increase your speed in stages while maintaining good intonation.
Scales, arpeggios, and coordination
Practice major and minor scales over two octaves. Play arpeggios of the G, C, and D chords in sequence to memorize their shapes.
Focus on coordinating your right and left hands with alternate picking. Follow the metronome’s tempo and keep your attack consistent.
Read slowly, then speed up with control
Read a phrase slowly, then increase your speed in small steps. Speed up only after you have played the same passage correctly five times in a row.
Apply techniques in short studies
Add tremolo or cross-picking to studies of 8 to 16 measures so that technique serves the music.
- Plan short sessions: warm-up, technique, study, and review.
- Use MIDI files, PDFs, and videos to work on intonation and phrasing.
- Note difficult passages and return to them in “slow and accurate” mode.
“Speed should be the result of control, never a substitute for it.”
| Exercise | Duration | Goal |
|---|---|---|
| Two-octave scales | 5 to 10 min | Accurate notes and finger placement |
| G/C/D arpeggios | 10 min | Right- and left-hand coordination |
| 8- to 16-measure study | 10 min | Apply techniques to a tune |
| Slow review | 5 min | Reinforce what you have learned |
To explore chords and progressions further, see the page on mandolin chords.
Choosing your first tunes: folk, bluegrass, and classical music
Choose short, repetitive tunes to build your repertoire quickly. Start with easy melodies that bring out the mandolin’s tone and the rhythmic patterns of folk music.
Motivating examples: Cripple Creek (traditional, in G) and Liberty (traditional, in D) are available in simple and more complete versions. Add Irish jigs and reels such as Morrison’s Jig or St. Anne’s Reel to develop speed.
Rewarding tunes for beginners
- Start with short, melodic tunes (Cripple Creek, Liberty).
- Practice folk and bluegrass to learn their groove and typical patterns.
- Add jigs and reels to build endurance and speed.
Adjusting the difficulty
Choose simplified tablature first, then add variations: ornaments, cross-picking, and chord inversions. A suggested progression is slow reading → steady rhythm → ornamentation → playing with a MIDI track or PDF score.
“Choose one tune each week and work on it in sections of 2 to 4 measures.”
Resources for learning today: lessons, videos, and communities
Find current resources in different formats so you can progress at your own pace.
Useful formats: download PDFs with accompanying MIDI or MP3 files to connect reading and listening. These sets are available for tunes such as Cripple Creek, Liberty, and Turkey in the Straw.
Practical tools
Install TEFview to open TablEdit files. It displays tablature and standard notation, lets you listen and loop a line, and prints readable scores.
Lessons, videos, and communities
Follow beginner YouTube playlists to watch the movements and imitate the phrasing. Use an electronic tuner or an app at every practice session to stay in tune.
- Collect PDFs and audio files to support memorization and make repetition more effective.
- Organize a library by style (folk, bluegrass) and skill level.
- Join Mandolin Cafe and local groups to get feedback, exchange tips, and attend concerts.
“Collecting audio and sheet music, then practicing regularly, shortens the learning process and builds confidence.”
Tip: record your progress, the passages you have practiced, and the difficulties you encountered so you can track your development and choose your next exercises.
Conclusion
Let’s review the essentials for steady progress on the mandolin.
Build a solid foundation: work on holding the instrument, tuning G‑D‑A‑E, reading tablature, and positioning your left hand to produce clear notes.
Develop your playing with focused techniques (tremolo and alternate picking) and progressively harder tunes. Start with simple versions, then add ornaments and richer chord shapes as your skills grow.
Use modern resources (PDFs, MIDI, TEFview, and videos) and practice in short sections. Keep a steady beat and watch your right hand to maintain a consistent tone.
Keep exploring: expand your folk and bluegrass repertoire, play with others, and refine your sound on this stringed instrument.