
Discover a clear method for practicing scales and their arpeggios, and improve your tone, rhythm, and technique starting today.
This introduction lays the theoretical foundation: how a scale is organized as a sequence of notes within a key and how to transfer those patterns to each string.
The progression follows a logical order: a theory review, fingering patterns, then daily routines to reinforce what you have learned.
You will see how to apply these exercises to your pieces by combining scales, fingerings, and right-hand techniques to achieve concrete results.
For a structured warm-up and practical advice, see this warm-up routine.
Understand the basics of mandolin scales today
Understanding the sequence of intervals gives meaning to every note you play.
Definition: a scale is a sequence of notes organized within a key. It can ascend or descend according to a pattern of intervals. This foundation helps you recreate the same sequence on each string.
On the fretboard, each fret represents a semitone; two frets make a whole tone. Feeling this difference under your fingers is essential for memorizing positions and anticipating transitions.
Practical reference points
- Place your first finger on the 2nd fret of the A string, then pluck it: you produce a note.
- Move one fret (2 → 3): a semitone. Move two frets (2 → 4): a whole tone.
- Hear each note in your mind before playing it to connect your ear with the movement.
“Visualizing the frets and repeating slowly with a metronome helps stabilize your intonation.”
| Concept | On the fretboard | Example |
|---|---|---|
| Sequence | Series of intervals | C, D, E… (ascending) |
| Semitone | 1 fret | 2nd → 3rd fret (B → C) |
| Whole tone | 2 frets | 2nd → 4th fret (B → Db) |
Major and minor scales on the mandolin
Using a consistent fingering makes movement along the fretboard smoother.
Suggested layout: first finger — gap — second finger — gap — third — fourth. This pattern covers a diatonic four-note segment on each string and makes it easier to move from one string to another.
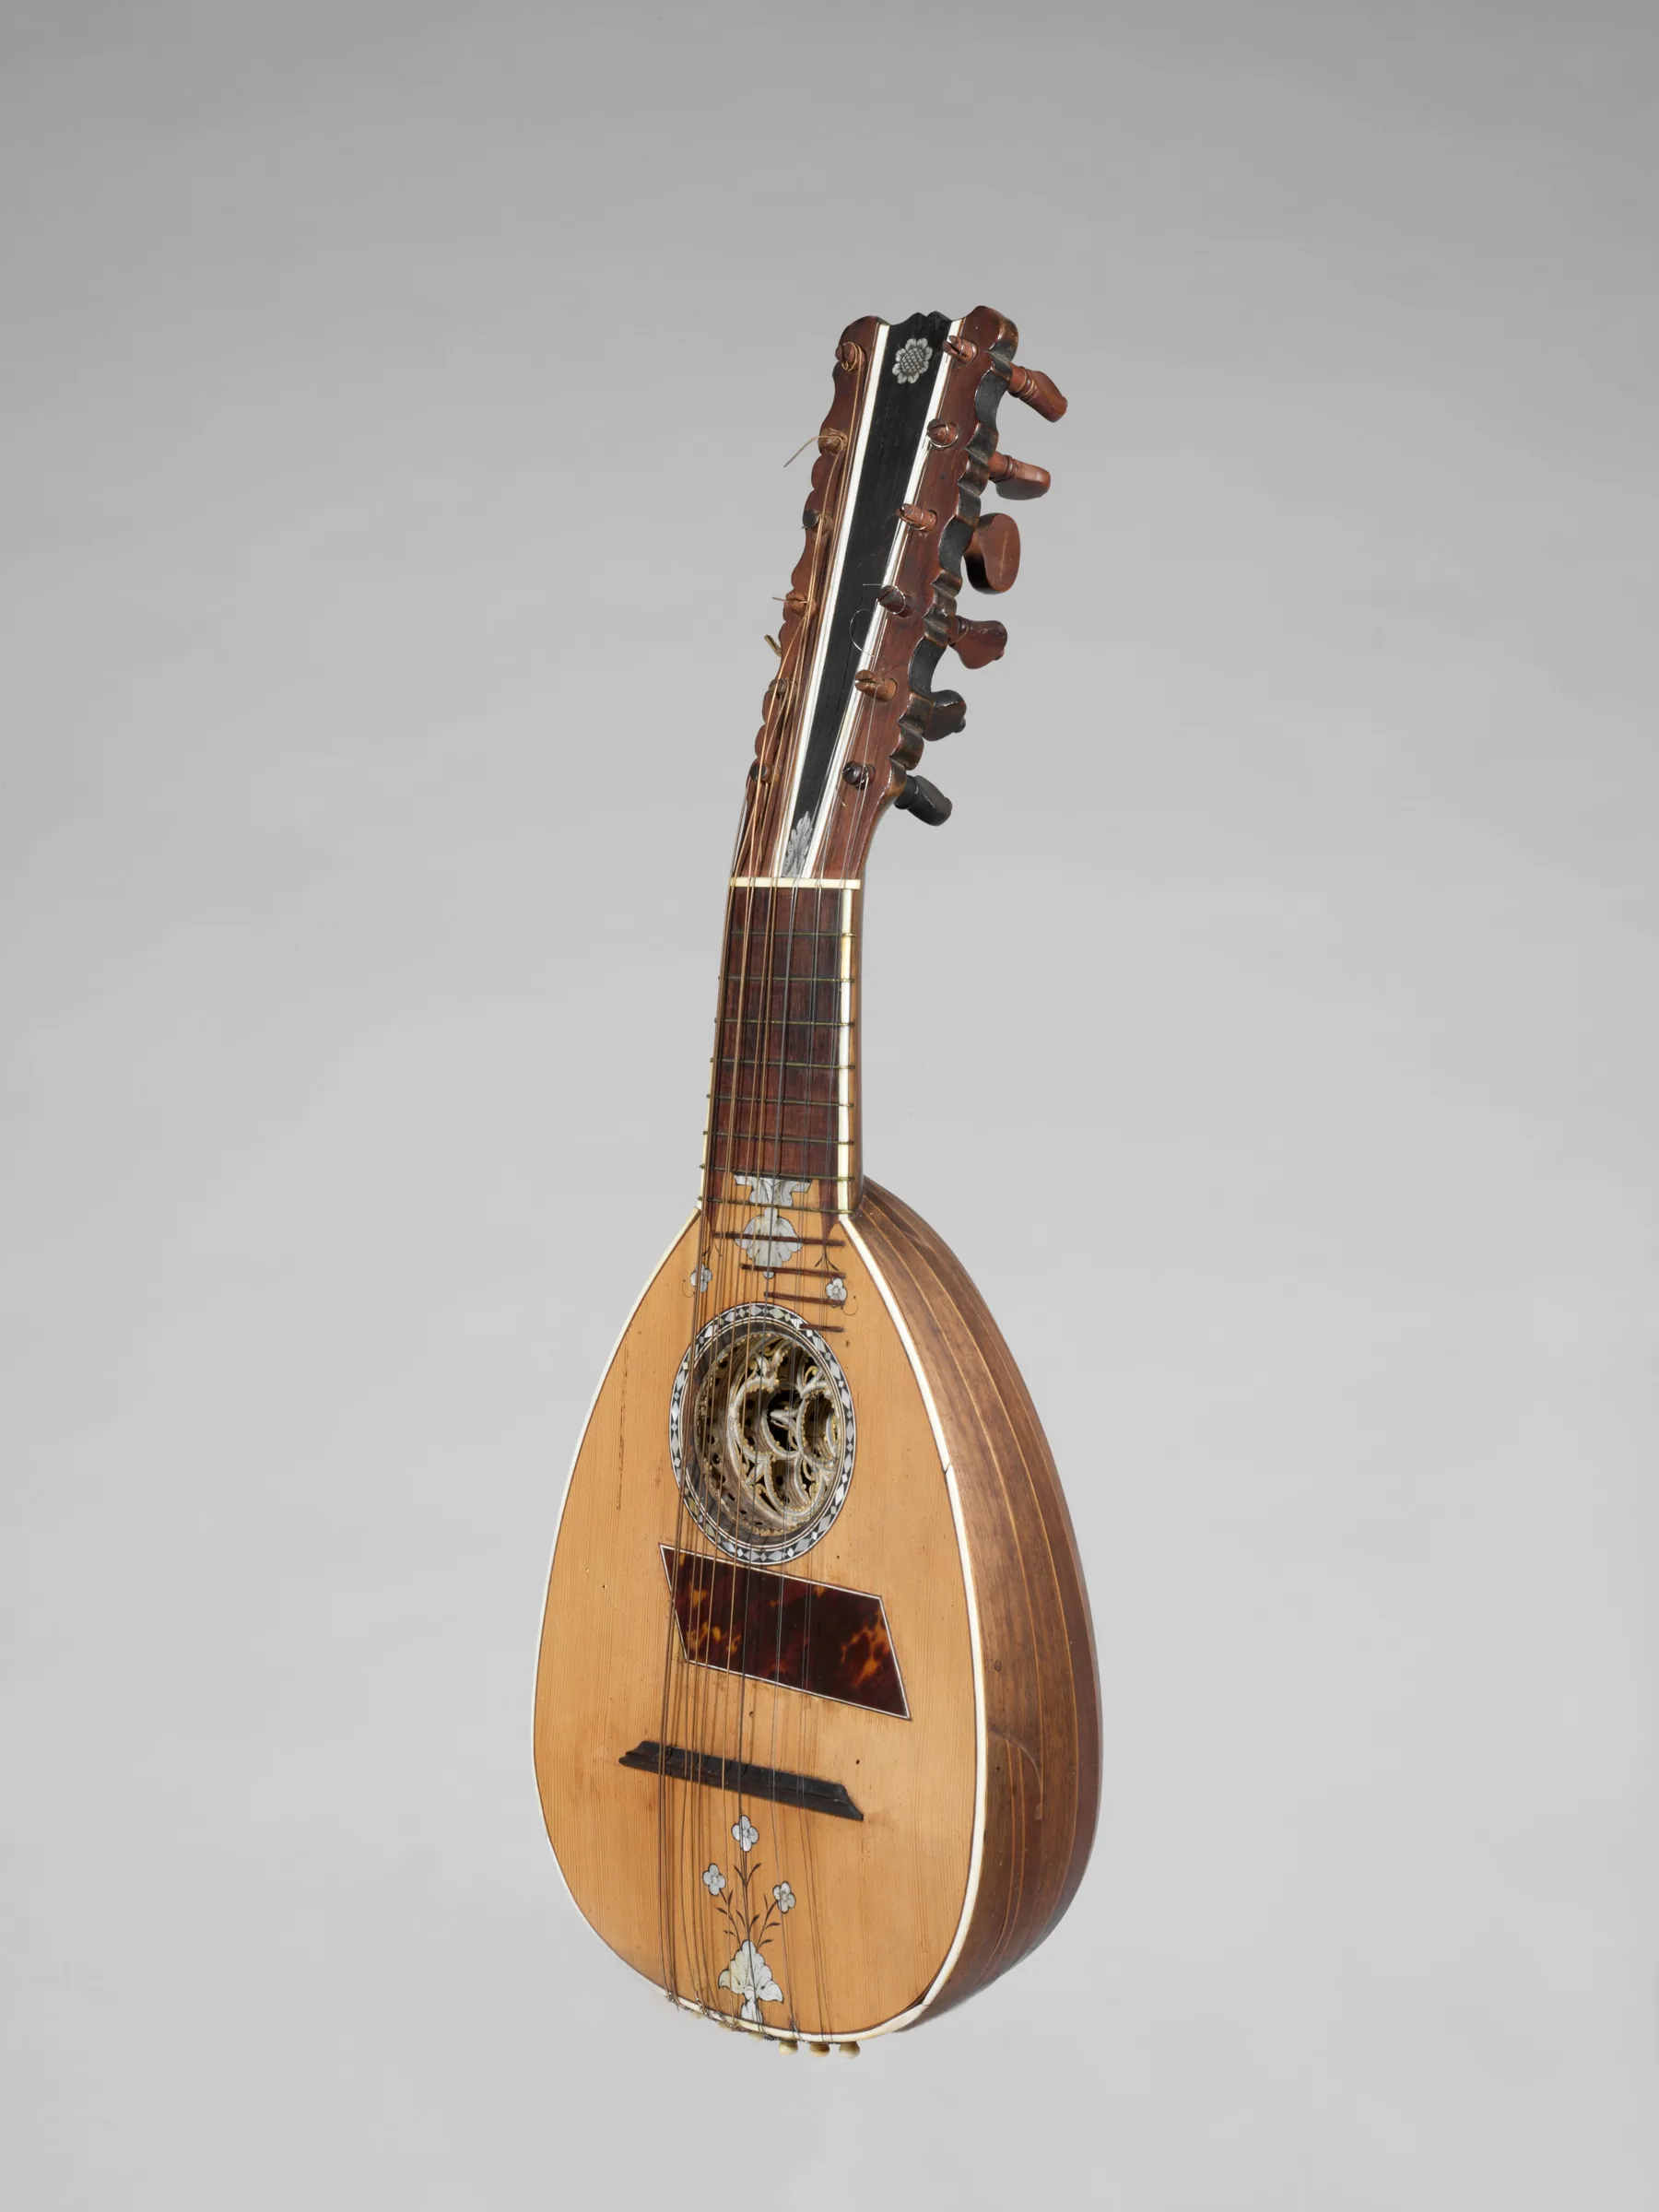
Basic left-hand fingerings
Place your hand on the G string at the 5th fret (C). You get C — (gap) — D — (gap) — E — F.
Then continue on the D string, keeping the same pattern. This keeps the transition smooth and the notes flowing without abrupt jumps.
Build a major scale
Play whole tones and semitones in sequence while following the fingering. Practice connecting the notes across two strings to produce a clean legato.
Introduce minor variations and arpeggios
Compare the third to hear the different character of each key. Play the arpeggio: on the G string, fingers 1 — 3 (C — E); on the D string, fingers 1 — 3 [one semitone lower]— 4 (G — B♭ — C).
This dominant seventh arpeggio leads to a resolution in F and lets you practice progressions around the circle of fifths.
- Keep each finger close to the fingerboard.
- Synchronize your hands with a metronome before increasing the speed.
- Vary the positions: half position, then 2nd through 5th, to extend your range.
| Position | Fingering | Example |
|---|---|---|
| 1st (nut) | 1 — (gap) — 2 — (gap) — 3 — 4 | G string, 5th fret → C, D, E, F |
| 2nd–3rd | Same fingering, shifted | Extend the scale without changing the pattern |
| Half position | Adapted for flats | Access notes near the nut |
| 4th–5th | Keep the pattern | Extend your range into the upper register |
Practical scale exercise to apply these principles and strengthen your fretboard memory.
Practical routines, arpeggios, and modulations to strengthen your technique
Start with a short routine that improves precision, breathing, and coordination.
Goal: steady your movements, clarify each attack, and move between keys without tension.
Effective warm-up
Play the G scale in 1st position, alternating pick strokes (↓↑). Play single notes, then groups of two and three.
Accent the 3rd note, then move to groups of four and six. Use the open D and G strings to guide your right hand.
Melodic work and arpeggios
Play patterns in thirds: GB·AC·BD·CE·DF#·EG·F#A·G, progressing from single notes to groups of six. Pay attention to each connection and the accent on the 3rd note.
Next, practice G major and then G minor arpeggios with the same picking patterns. Listen to the character of the chords and adjust your musical phrasing.
Octaves, shifts, and modulations
Practice the “up 5 / down 3” pattern on each string. Plan your string changes (for example, from the 4th string, G, to D, then the 3rd on E) to control your shifts.
Repeat the G → D → A cycles using the open D, A, and E strings. Then transpose into 2nd and 3rd positions up to B major; descend by semitones with a tremolo attack.
- Vary the rhythms (from single notes to groups of six) and dynamics to improve note consistency.
- Incorporate the circle of fifths: connect the scales and seventh arpeggio to modulate to F, B♭, E♭, A♭, and D♭.
- Finish with a slow sequence: a legato major scale, followed by arpeggios to memorize the chords under your fingers.
| Exercise | Purpose | Duration | Position |
|---|---|---|---|
| G scale (single notes → groups of six) | Picking endurance | 5–10 min | 1st |
| Pattern in thirds | Broaden your phrasing | 5 min | 1st |
| Octaves: up 5 / down 3 | Controlled shifts | 7 min | 1st–3rd |
| Circle of fifths + seventh arpeggio | Modulations | 10 min | Half position–5th |
“Focused repetition builds fretboard memory and confidence in every note.”
Conclusion
To finish, follow this practical path: understand the intervals, build your fingerings, then establish the movements through short, focused routines.
Practice slowly and deliberately: check your intonation and tone quality before increasing the metronome speed. This approach protects your joints and develops your ear.
Regularly revisit the exercises in thirds, arpeggios, and modulations to connect technique with musicality. With this framework, your mandolin practice becomes more effective.
Plan your sessions: 5 minutes of warm-up, 10 minutes of melody, 10 minutes of arpeggios, and 5 minutes of modulations. You will hear chords more clearly and make musical progress each week.