
This tutorial guides you step by step through practicing arpeggios and turning technical movements into musical phrases. The goal is simple: play clear, clean notes while enjoying yourself.
The method offers a structured path: warm up, refine the patterns, work on rhythm with a metronome, then apply what you have learned to pieces of music. Each session focuses on precision, consistency and coherent phrasing.
First, the instrument: four pairs of strings tuned G‑D‑A‑E, in a compact, versatile form suited to folk, bluegrass and classical music. Choosing a suitable pick and tuning regularly have a direct effect on the sound.
These lessons offer modern methods, online resources and practical ways to hear your progress. Use a metronome, backing tracks and recordings of your playing to check your notes and improve your musicality.
Understanding mandolin arpeggios and the goal of this tutorial
An arpeggio arranges the notes of a chord into a melodic line that makes the harmony clear and audible.
Definition: an arpeggio is a sequence of chord notes played one after another. This approach highlights important scale degrees (1, 3, 5, 7, 6) and makes it easier to understand harmony in gypsy jazz or popular music.
Lesson goal: turn theory into practice. Study each chord through its arpeggio, then apply it to common progressions. A practical example is the II‑V‑I progression (Dm7‑G7‑CMaj7), which shows how to target essential notes when improvising or accompanying.
Benefits: greater melodic accuracy, smoother chord changes and natural phrases without too many notes. Listening to and singing arpeggio notes develops your ear and steadies your hand before you increase the speed.
Learning progression: begin with basic triads (1‑3‑5), then add sevenths and other colors (6, Maj6/m6), followed by diminished arpeggios to create tension. Each lesson connects directly to folk, gypsy jazz or classical playing.
| Step | Content | Goal |
|---|---|---|
| 1 | Triads (1-3-5) | Establish a clear foundation |
| 2 | Add sevenths | Add color to the harmony |
| 3 | Sixths and diminished arpeggios | Create and resolve tension |
| 4 | Apply them to II‑V‑I | Connect theory and improvisation |
Essential basics: tuning, posture, pick and first arpeggio shapes
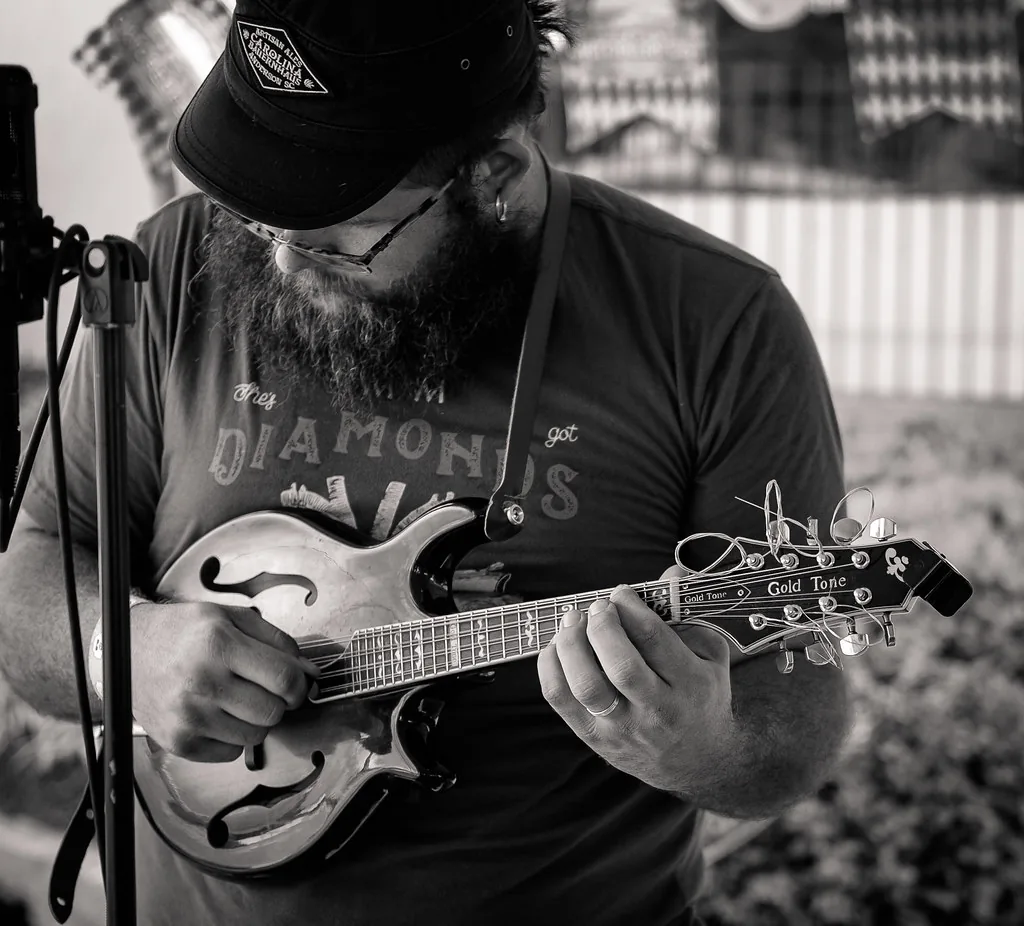
Good playing starts with stable tuning and a comfortable hold. Standard G‑D‑A‑E tuning, as on the violin, is the reference point. Use an electronic tuner or an app, and adjust each string gradually to avoid breaking it.
Tune and check your intonation
Tune the instrument at the beginning, middle and end of each session. Changes in temperature affect string tension and pitch. Learn to listen to each note on its own so you can spot a tuning problem.
Holding the pick and striking the strings
Choose a thick pick for better control and a rich tone. Hold it firmly but without tension between your thumb and index finger. Practice alternate picking (down and up strokes) slowly to build a solid foundation.
First shapes on the fingerboard
Place your left hand close to the frets, with your thumb centered on the back of the neck. Begin with major and minor triads, then add the dominant seventh in a low position.
- Practice in small groups of notes (across 2 to 3 strings) before connecting the notes of a complete position.
- Add tremolo, hammer-ons and pull-offs to develop your technique and musicality.
Playing technique: coordinate both hands for clean arpeggios
Coordinating both hands turns a clean pattern into a musical phrase. Play slowly so each pick stroke coincides with placing or releasing a fingered note.
Right hand: even strokes, accents and dynamics
Alternate picking and tremolo provide a foundation for developing speed and sustaining notes. Start with eighth notes to a metronome, accent the beat, then move the accent to gain better control of your dynamics.
- Play short patterns slowly and change strings at the precise moment your left hand presses the correct fret.
- Use tremolo for a set length of time to sustain an important chord note.
- “Metronome + mirror” exercise: watch the vertical position of your right wrist.
Left hand: fretting position, connections and ornaments
Place your fingers close to the frets and use the least pressure needed to avoid tension. Hammer-ons, pull-offs and slides connect positions on the fingerboard and make your playing more fluid.
- Break difficult chord transitions into sets of 4 to 8 controlled repetitions.
- Record short loops to check your rhythm, balance and note clarity.
Recommended practice: 5 to 10 minutes of slow playing, followed by focused work on difficult passages. Precision comes before speed.
Rhythm and meter: place your arpeggios in time
Good rhythmic placement turns a clean pattern into a phrase that breathes. Use a metronome to feel each beat and understand how different note values fit into a measure.
Start at a slow tempo. Make your pick strokes consistent before speeding up. Tablature helps you find positions; standard notation strengthens your understanding of note values and pulse.
Work on the pulse and note placement
Feeling strong and weak beats helps you place patterns of eighth notes, triplets or sixteenth notes. Vary the placement: play on the beat, then on the “and” to become more flexible.
- Slow metronome setting: make your pick strokes consistent.
- Alternate steady eighth notes and triplets to enrich your phrasing.
- Space out the clicks (on beats 2 and 4, or on just one beat) to develop your internal subdivision.
- Play with backing tracks to establish the groove for the key and style.
| Tool | Use | Goal |
|---|---|---|
| Metronome | Slow tempo, then a gradual increase | Consistent pick strokes |
| Tablature | Precise finger placement | Quick visual reference |
| Standard notation | Rhythmic values and pulse | Theoretical understanding |
| Backing tracks | Playing in context | Adapting your rhythm to the groove |
Connect rhythm and harmony: place the first important arpeggio note at the chord change to mark the cadence. Record the tempo, duration and consistency of your sessions. These details help you measure your progress.
Mandolin arpeggios: progressive exercises
Organize your sessions to work on precision, memory and speed for thirty minutes each day.
Beginner level
Goal: build a solid foundation by playing ascending and descending triads over one measure.
Begin on 2 to 3 strings. Focus on making every note clean and placing your fingers accurately.
Intermediate level
Practice groups of 3 or 4 notes and explore inversions. Connect two nearby positions to make chord changes smoother.
Advanced level
Add sevenths, sixths and diminished shapes. Practice fast progressions and extensions, then vary the starting note (third or seventh) to become more expressive.
Daily routine (30 minutes)
5 minutes of warm-up: major and minor arpeggios and hand coordination.
10 minutes of focused technique: one arpeggio type per day, practiced with a metronome.
10 minutes applying arpeggios to a chord progression (Dm7‑G7‑CMaj7 or Am6‑Dm6‑E7).
5 minutes of creativity: turn a pattern into a short piece.
| Level | Priority | Goal |
|---|---|---|
| Beginner | Triads with alternating strokes | Clean notes |
| Intermediate | Groups of 3 or 4 notes, inversions | Smooth position changes |
| Advanced | Sevenths, sixths, diminished arpeggios, extensions | Controlled speed |
| Routine | 30 structured minutes | Daily progress |
For ideas on applying these skills and practical resources, see this guide.
Musical application: practical examples with chords and pieces
Put these ideas into practice with three simple examples covering connections, rhythm and harmonic color.
Minor Swing — Am6 / Dm6 / E7
Goal: repeat each arpeggio and connect the positions by the shortest possible route.
Am6 (A‑C‑E‑F#), Dm6 (D‑F‑A‑B) and E7 (E‑G#‑B‑D) form a short progression that is ideal for this exercise. Focus on the nearest shared note to make each transition smooth.
- Add slides into the third and diatonic passing notes.
- Vary the rhythm within the measure: eighth notes and triplets; shift the accent to create movement.
II‑V‑I progression
Over Dm7‑G7‑CMaj7, target the third and seventh of each chord to bring out the cadence. Play each pattern for two measures, then move it to other areas of the fingerboard.
This approach makes the harmony clearer and supports improvisation by helping you locate guide tones.
Folk and classical: adapt your technique
For folk or classical music, favor connected, controlled playing and even picking. Choose fingerings that support the melodic line and enrich the tone.
Practical tip: record a short 8-measure chorus to check note clarity, connections and rhythmic stability.
Improvisation and harmony: turn patterns into musical phrases
To improvise effectively, first locate a few target notes on the fingerboard. These reference points—usually the third and seventh—guide your resolution when the chord changes.
Chromatic approaches: approach a target note from a semitone below or above to create controlled tension before resolving it. These short movements enrich the pattern without disrupting the harmony.
Finding shared notes: identify notes common to two chords. They reduce the distance your hand must travel and connect positions more smoothly.
Tension and resolution techniques
Suspension: hold a consonant note until it becomes dissonant over the next chord, then resolve it early in the measure for an expressive effect.
Preparation: introduce a note from the next chord at the end of the current measure. This creates a little tension that resolves on the next attack.
Anticipation: play the resolution note just before the chord change—on the “and” of beat four, for example—to create a sense of forward motion.
- Practical exercise: over II‑V‑I (Dm7‑G7‑CMaj7), use only thirds and sevenths. Measure 1: suspension; measure 2: preparation; measure 3: anticipation.
- Breathing room: leave rests, hold a strong note, then return to a short arpeggio pattern to balance tension and release.
Common mistakes, tools and ways to progress faster
Many players progress more slowly because they separate technique from musicality. Without harmonic context, even a clean pattern can sound mechanical and flat.
Pitfalls to avoid:
- Playing arpeggios without accompaniment and losing the pulse.
- Staying in the same positions and missing out on tonal variety across the scale.
- Sacrificing rhythm for speed or separating technique from musical intention.
Simple fixes:
- Practice with a backing track or loop: one chord per measure helps establish the pulse.
- Mark the first beat of each measure and articulate chord changes clearly.
- Explore the fingerboard to vary your tone and avoid limiting yourself to one area.
Self-assessment routine:
- Record yourself once a week and listen for pitch accuracy, pick strokes and harmonic coherence.
- Write down three things to improve before your next session.
Key tools and resources
| Tool | Use | Goal |
|---|---|---|
| Metronome | Steady tempo | Strengthen rhythmic placement |
| Recorder or smartphone | Listen critically to your playing | Spot wrong notes and weak pick strokes |
| Backing tracks and online lessons | Practice in context | Watch hand movements and follow progressive methods |
To make a good choice of learning materials, look for methods with audio or video tracks and clear lessons. Joining communities such as Mandolin Cafe gives you access to opinions, fingerings and local playing sessions.
Conclusion
In short, a structured routine helps you hear and refine your musical phrases.
Arpeggios organize your musical ideas: they clarify the chord and give every note a role in the measure. The progression is straightforward: G‑D‑A‑E tuning, posture and pick, technique in both hands, rhythmic work, then applying it all to chords and a piece of music.
Aim for target notes at chord changes, articulate your phrases and control their rhythmic placement. Favor 30 minutes of regular practice over an occasional long session.
Listen to other interpretations, move your patterns to another key and record a short chorus. Choose an arpeggio, set a tempo and start recording to measure your progress.